We are pleased to announce our latest integration with 8thWall, which offers a complete set of tools to create interactive web-based augmented reality.
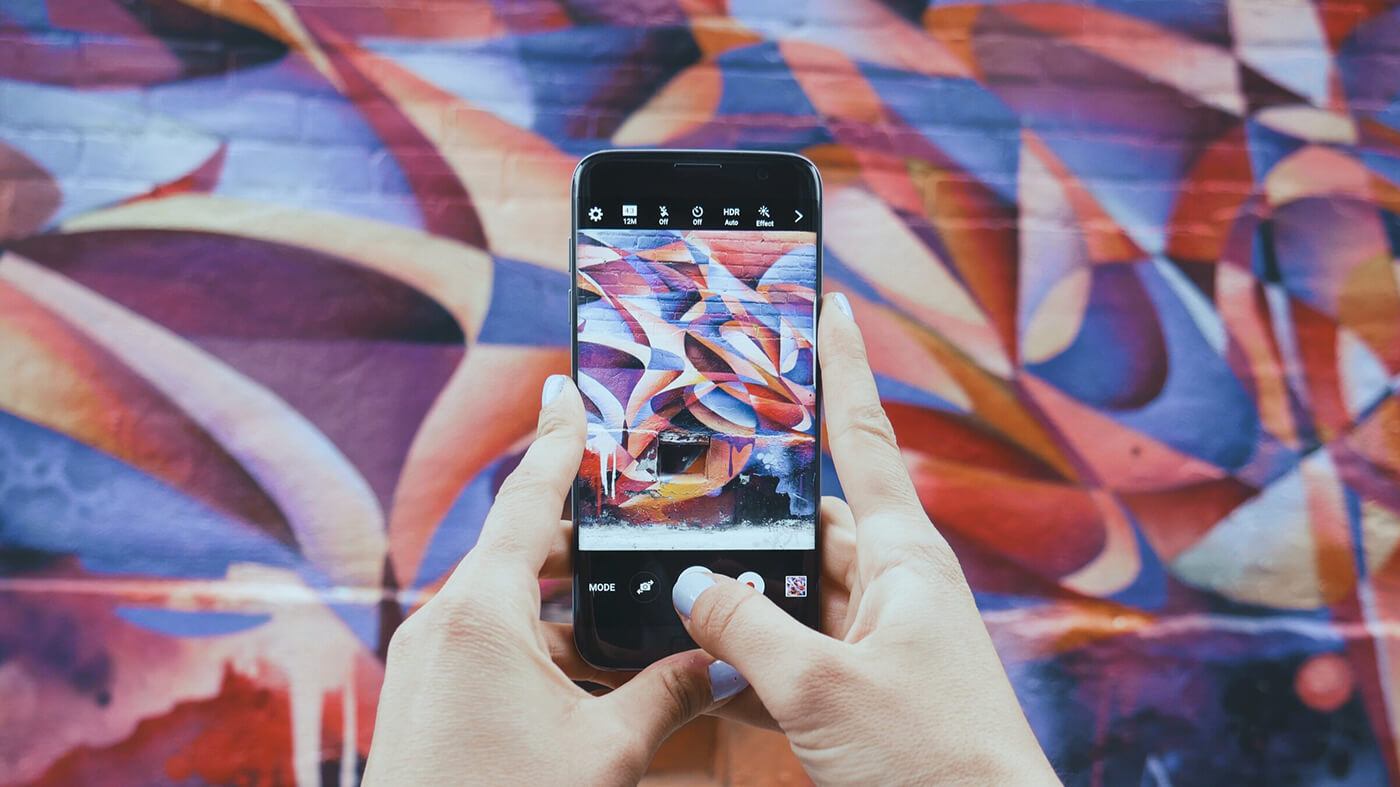
For years the world has been abuzz with AR apps. These apps range from games to training applications. The most important thing is that whatever the specifics, these apps should run directly in a web browser smoothly. In this post, we’ll show you an example of how to watch the Spaceport Volumetric video in 8thWall. We’ll use three.js —a cross-browser JavaScript library and application programming interface used to create and display animated 3D computer graphics—and connect to the 8th wall API for our volumetric capture demo.
Quick recap: If you haven’t heard about Spaceport-Volumetric Video before, you can read the previous entries:
– Part1: Overview of the Spaceport Volumetric Video Capturing and Streaming
– Part2: Spaceport Volumetric Video Container Structure
– Part3: Spaceport Volumetric Video Live Streaming
– Part4: Spaceport 1.0
What We’ll be Doing
Let’s start with the conceptual ideas around how to place objects in the real world with webAR. Right here, some Augmented Reality knowledge will be very helpful. We can start with AR Types:
The first one is Image Tracking: It draws content over pictures when the camera finds a 2D image. While useful for some test scenarios, there are some challenging parts to this method. In particular, good images must be selected as target images. DPI should be 300 or more for good stabilization.
The Second is Location Based AR: this kind of AR uses real-world places in order to show Augmented Reality content, on the user device. It allows developers to add digital content to geographical points of interest. This means that unlike the typical marker-based AR features – like Image Tracking, Geo AR does not need a physical target to trigger the AR experience.
And the latest one: Marker Tracking, It requires a marker to activate an augmentation and it’s possible to show some content (same as Image Tracking) when the camera sees a marker.
With these in mind, what is the best choice for our use case? We don’t want to use any marker to show our objects and on the other hand, the GPS data might be unstable to watch volumetric frames. Right here we rely on 8thwall API to display our frames in the real world.
Lets Getting Started
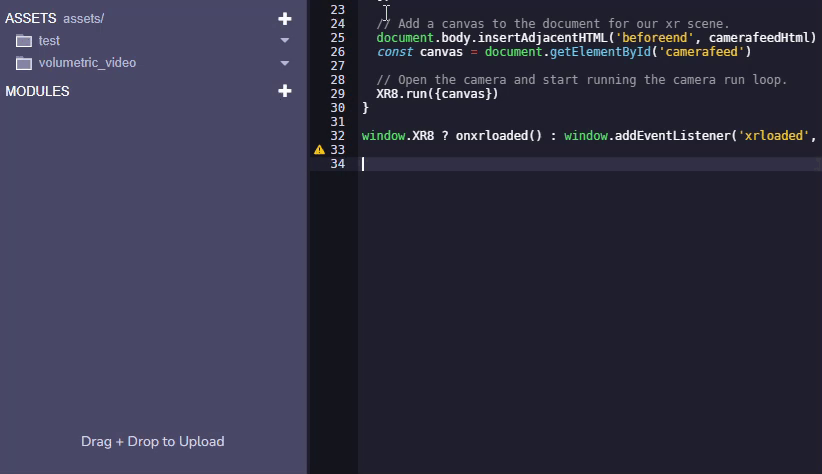
You can log in to 8thwall from here, If you’ve never signed up before, follow their guide to set up your account. For this project, we’ll use three.js. You should clone Sample Three.js Project which will make it easier to use three.js in 8thWall API.
Update head.html
As you know we use Draco loader to encode and decode frames in our container structure. You have to add DracoLoader via head.html
<!–DracoLoader –>
<script src=”//cdn.rawgit.com/mrdoob/three.js/r125/examples/js/loaders/DRACOLoader.js” crossorigin=”anonymous”></script>
<script src=”//cdn.rawgit.com/mrdoob/three.js/r125/examples/js/loaders/TEXTURELoader.js” crossorigin=”anonymous”></script>
And then you can use Draco:
// Draco Loader
const DEFAULT_DRACO_DECODER_LOCATION = ‘https://www.gstatic.com/draco/versioned/decoders/1.3.6/’
const dracoLoader = new THREE.DRACOLoader()
dracoLoader.setDecoderPath(DEFAULT_DRACO_DECODER_LOCATION)
// Optional: Pre-fetch Draco WASM/JS module.
dracoLoader.preload()
To get Spaceport Container frames you can use the following code snippet
const container_path = ‘./assets/volumetric_video/obj_frames/container_’
fetch(require(`${container_path}`))
.then(response => response.arrayBuffer())
.then((data) => {
//decode frames
decodeObjFile(drcMesh, url, scene, renderer)
})
}
The next step is to parse the container with a specific format on 8thWall Side. To restore frames, we access them as we stored them, using the same data types in the same order. Then reconstruct each 3D object and decode frames from the container.
let offset = 40
const timeStamp = data.slice(offset, offset + 8)
let byteArray = new BigUint64Array(timeStamp)
let byteArrayView = Number(byteArray[0])
const dracoSize = data.slice(offset, offset + 8)
byteArray = new BigUint64Array(dracoSize)
const drcMesh = data.slice(offset, offset + byteArrayView)
const jpgSize = data.slice(offset, offset + 8)
byteArray = new BigUint64Array(jpgSize)
myNumber = Number(byteArray[0])
offset += 8
const jpgSizeView = new Float64Array(jpgSize)
byteArray = new BigUint64Array(jpgSize)
myNumber = Number(byteArray[0])
const newTexture = data.slice(offset, offset + myNumber)
const textureView = new Uint8Array(newTexture)
offset += myNumber
const imageBlob = new Blob([textureView.buffer], {type: ‘image/jpg’})
const url = URL.createObjectURL(imageBlob)
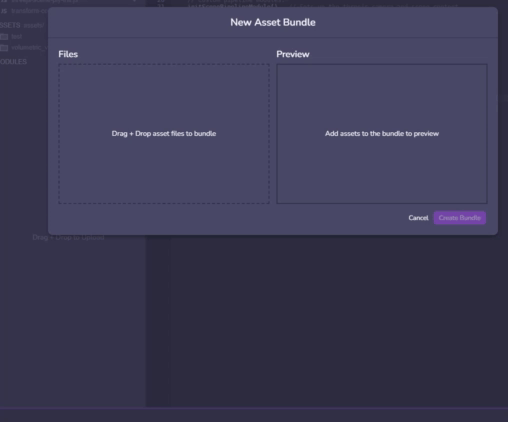
Finally, select the New Asset Bundle
Get Spaceport Volumetric Video containers
And then everything is done. You can test our simple demo from here

Hope you enjoyed the blog post. If you have any questions please do not hesitate to contact us.